How to create a Whitelist from a Reference System
Content
- Create the policy
- Set the Reference System Application Control Policy tab settings
- Additional Applications to Control tab
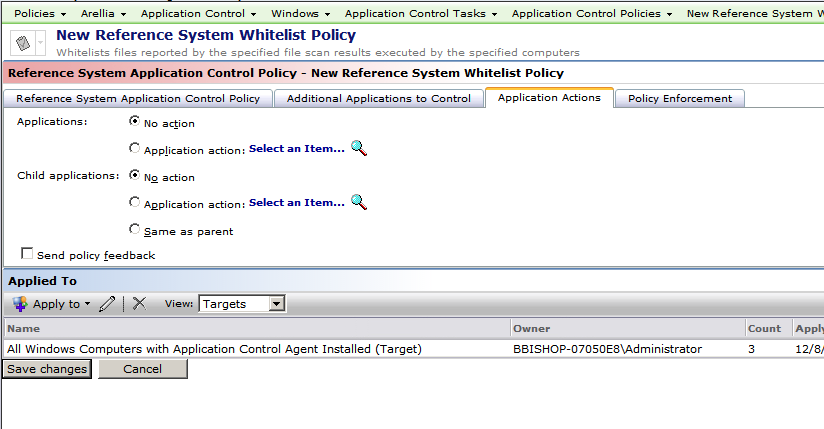
- Application Actions tab
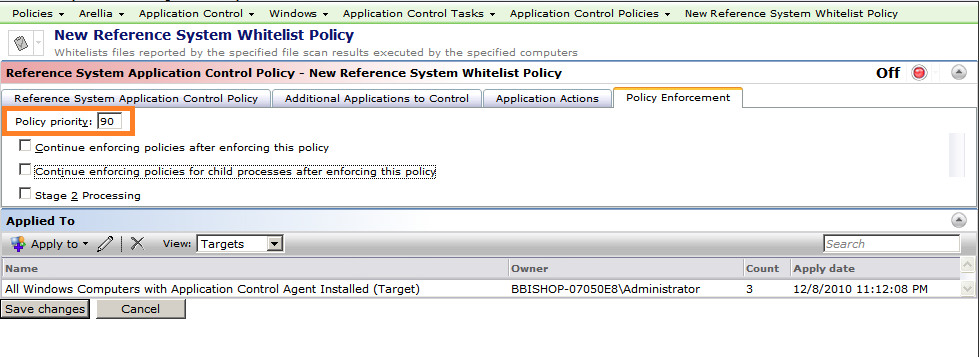
- Policy Enforcement tab
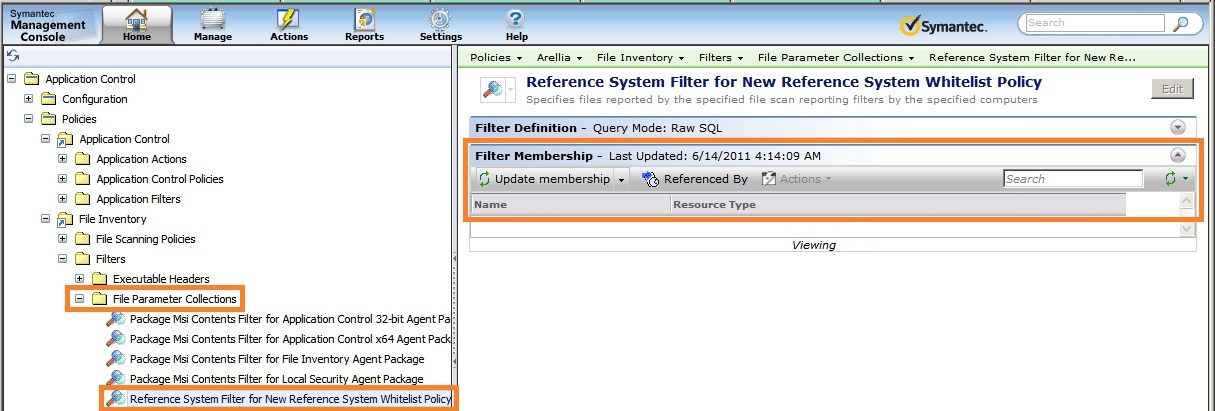
- Membership of whitelist filter
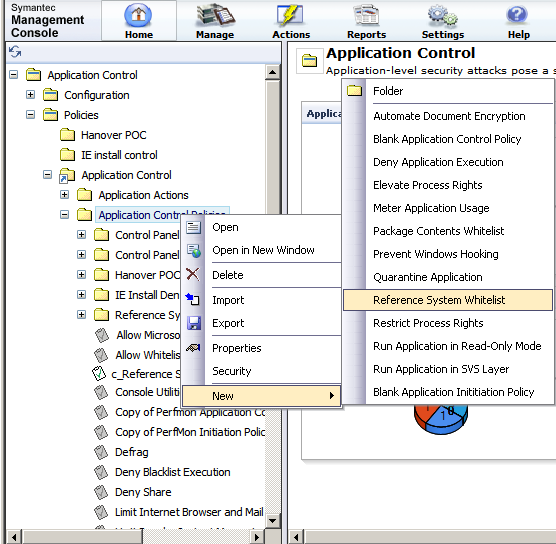
Step 1
Right-click on the Application Control Policies folder and select New > Reference System Whitelist.
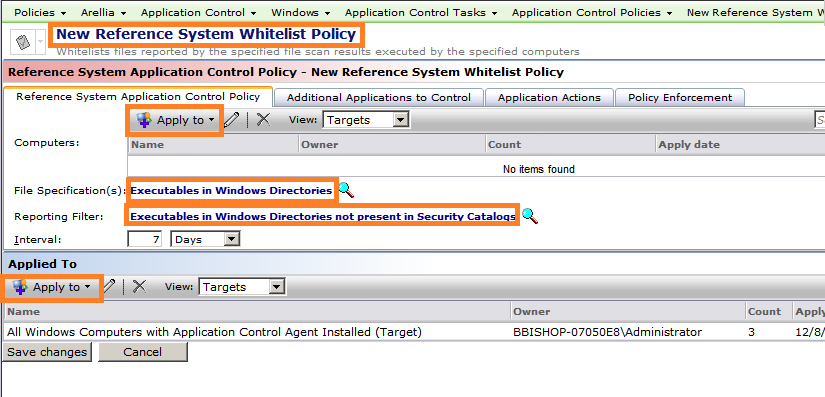
Step 2
- Click on the "New Reference System Whitelist Policy" and remove "New" and add the identifier for this policy to the remainder of the name. That way the purpose and the type of policy can be identified by the name only.
- Adjust the "Apply to" to identify the system which is to be used as the Reference System.
- Adjust if necessary the "File Specification(s)" option. In general start the "Default File Specification" and adjust later if there are applications which are not being discovered.
- Adjust if necessary the "Reporting Filter" option. In general start the "Program File Executables" and adjust later if there are applications which are not being discovered..
- Finally set the "Applied To" to the machines where the Whitelist should be applied. Note: This may be done now or by preference left blank until later after the reference system has been scanned and the Whitelist has been populated and verified.
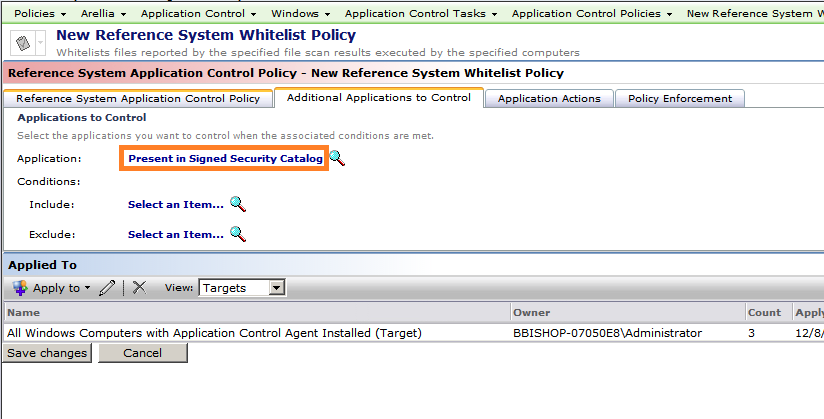
Step 3
Change the "Application:" option if necessary. If this is to be a Whitelist (which usually means either "No Action" or an "Elevate Rights" action) then the standard option of "Present in the Signed Security Catalog" can be left as these standard programs which Microsoft signs with a certificate and manages with the Security Catalog system will simply receive "No action" and will be allowed to run as normal. This will be beneficial if a policy is planned to block all unidentified items as this identification of the Security Catalog programs here will make it possible to prevent them from being denied by the policy designed to block all unidentified items.
Step 4
For a standard Whitelist "No action" is the appropriate action. The programs identified will be allowed to run. Other Application Actions may be used/added if necessary.
Step 5
- Adjust the "Policy priority:" so that no other policy of this type "Reference System Application Control Policy" has the same priority. Also make sure this policy will be processed in the correct order in relation to other policies. Lower numbers are processed first.
- Then disable both of the "Continue enforcing...policy" options unless there is a specific requirement for this.
- Change the "Red Off" button to "Green On" and then click "Save Changes"
The policy is now active. It will take some time before the policy is transmitted to the reference system (depends on the NS or SMP agent configuration interval) and then the agent will commence the scan. The scan can take a few minutes to a few hours or more depending on the amount of information to be scanned.
Step 6
- The membership of the Whitelist filter can be seen here. The name shown will include the name given to the Reference System Whitelist Policy.