/
Automate Document Encryption
Automate Document Encryption
- Anonymous
- Max Pinion (Deactivated)
Owned by Anonymous
This section describes the process involved in automatic document encryption. For this scenario you will create a policy to enforce document encryption for all Microsoft Excel Spreadsheets.
Scenario description
In this scenario, the end user has:
- Two user accounts
- Microsoft Excel
Scenario resolution
To automatically encrypt Microsoft Excel spreadsheets, perform the following steps:
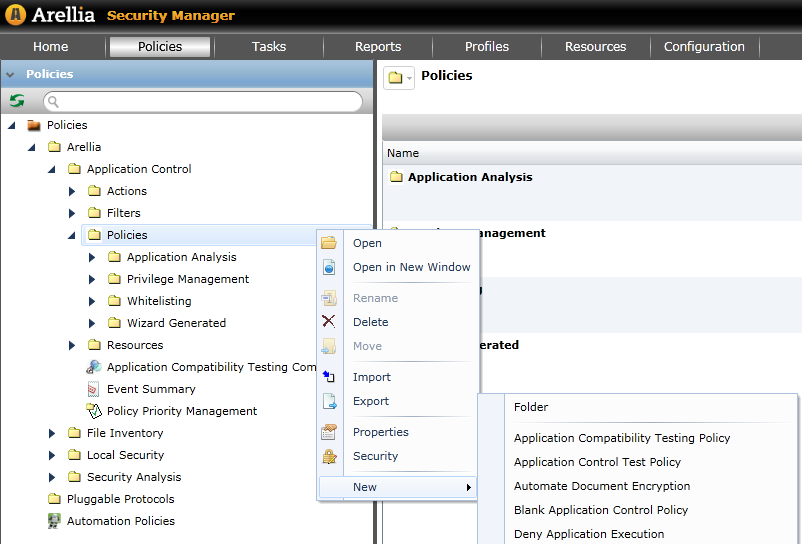
To access the Application Control Policies page:
- Once you are in Arellia > Application Control select the Policies tab
- Select Application Control
- Right-click Application Control Policies and select New > Automate Document Encryption
Configure the policy details as follows:
- Enable the policy using the On/Off toggle.
- In the Name field, enter Encrypt Microsoft Excel Spreadsheets.
- In the Description field, enter "This policy will automate the encryption of all spreadsheets created or modified by Microsoft Excel."
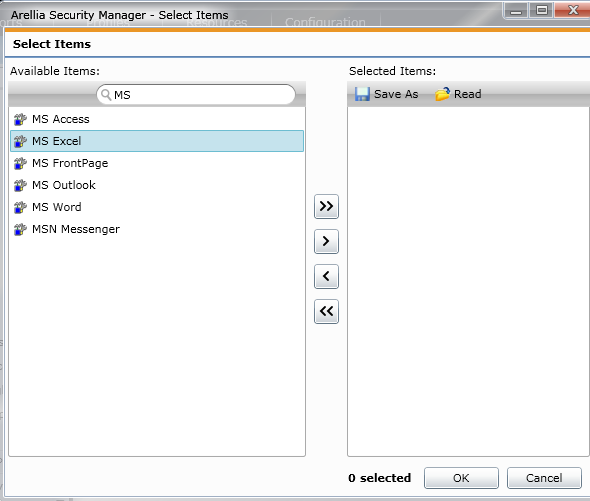
- Click the Include: link and in the Select Items dialog, select MS Excel. Click OK.
- Click Save
- Open Microsoft Excel, create a new spreadsheet, save it, and close the application.
- Open Windows Explorer and browse to the new file. The filename will appear green.
Checking the Advanced Attributes on the file properties shows that the file is encrypted. - To verify that the encryption is working, log on using a different user account and attempt to open the file.
, multiple selections available,