Elevate MSI files on the network share
- Anonymous
- Max Pinion (Deactivated)
- Mike Murphy
Issue
A wizard generated UNC or Network Share Path Elevation Policy elevates .exe files but not .msi files.
When launching an .msi file, the following command line is executed:
C:\Windows\System32\msiexec.exe /i "\\[path-to-network-share]\[file]"
Which means that the application is not elevated because the msiexec.exe file is not in the elevated Network Share directory.
Solutions
Solution 1
In order to enable elevation for msi files on the network share, a command line filter needs to be created and added to the Elevation Policy.
- In the Arellia Security Manager, click the Policies tab.
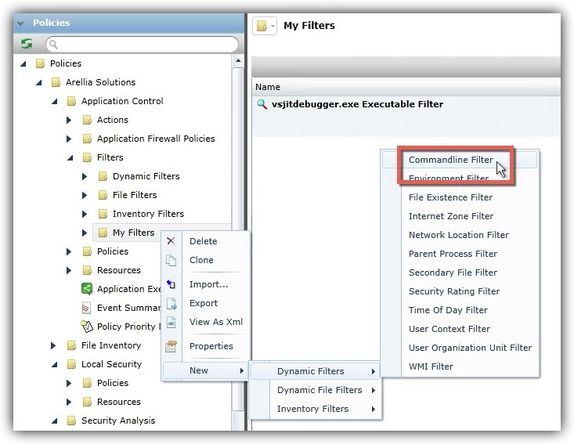
- In the file library in the left pane, navigate to Policies > Arellia Solutions > Application Control > Filters.
- Right-click the My Filters folder and click New > Dynamic Filter > Commandline Filter.
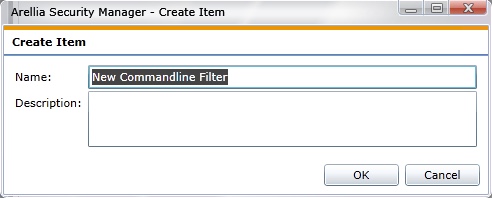
- In the Create Item dialog box, create a Name and Description for the new command line filter.
- In the right pane under Settings, from the Match Type menu choose Partial.
- In the Command line field, enter the network share path that needs to be elevated (such as "\\server\approved_software").
- Click Save.
- Navigate to the Elevation Policy and add the command line filter you just created to "Applications to Control." (For instructions on how to create an elevation policy and add a filter, go to Create a New Elevation Policy.)
Now MSI files in the network share will be elevated.
Solution 2
Alternatively you can create an application control policy that targets "msiexec.exe" and uses a Secondary file filter as an Include only. To create the secondary filter:
- In the Arellia Security Manager, click the Policies tab.
- In the file library in the left pane, navigate to Policies > Arellia Solutions > Application Control > Filters > File Filters.
- Right-click the File Specifications folder and click New > File Specification Filter.
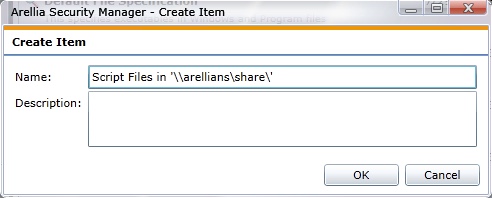
- In the Create Item dialog box, create a Name and Description for the new command line filter.
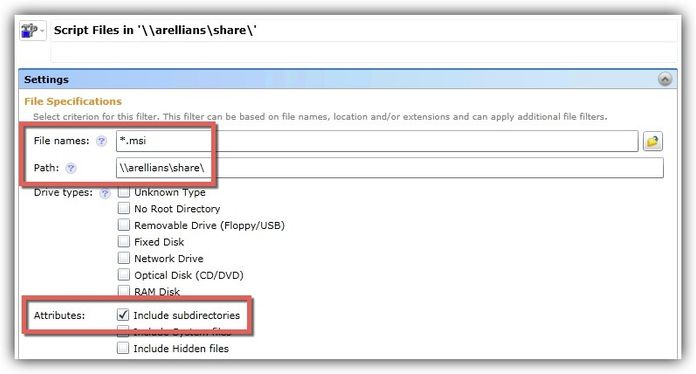
- In the right pane under File Specifications and next to File names, enter *.msi.
- Next to Path, enter the approved UNC path.
- Next to Attributes, select the check box for Include subdirectories.
- Navigate to Policies > Arellia Solutions > Application Control > Filters > Dynamic Filters.
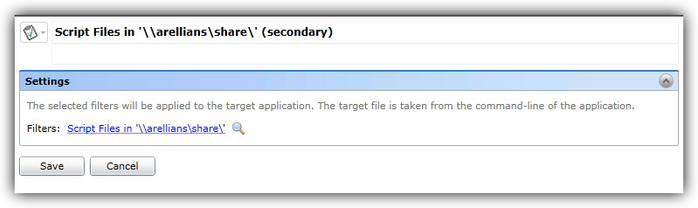
- Right-click the Secondary File folder and click New > Secondary File Filter.
- In the Create Item dialog box, create a Name and Description for the new secondary file filter.
- Set the Filters to the new file specification filter created in step 3.
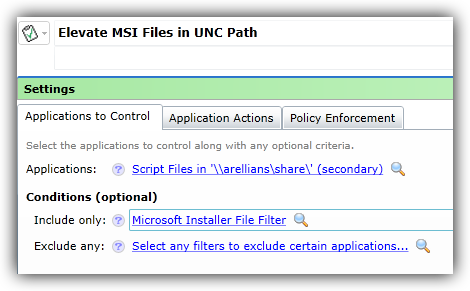
Navigate to the Elevation Policy and add the secondary file filter you just created to "Applications to Control." (For instructions on how to create an elevation policy and add a filter, go to Create a New Elevation Policy.)
- Under Conditions (optional) next to Include only, choose the built-in Microsoft Installer File Filter.
Now MSI files in the network share will be elevated.